

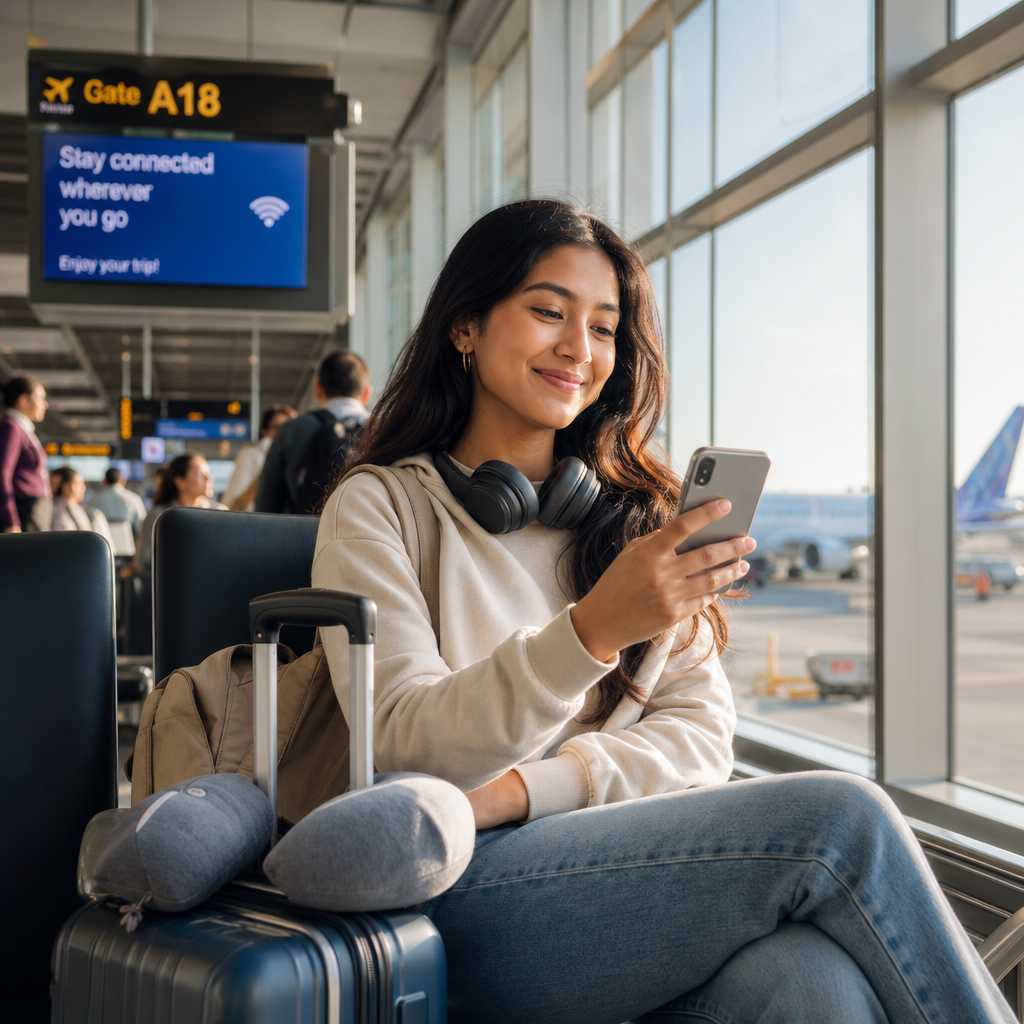
Most international students arrive in Canada with a dead phone, a roaming bill they did not expect, and a lineup at a carrier store that eats two hours of their first day. None of that is necessary. Activating an eSIM Canada international students plan before your flight lands is not complicated, but the window to do it correctly is small and the mistakes are easy to make. This guide walks you through every step, from choosing the right plan to confirming your eSIM is live before you board the plane, so you arrive connected and ready to navigate a new country from minute one.
Table of Contents
- Why You Must Activate Your eSIM Before You Land
- Quick Takeaways
- What Is an eSIM and How It Works for Canada
- Is Your Device eSIM Compatible?
- Choosing the Right eSIM Plan as an International Student
- Step-by-Step: How to Activate Your eSIM Before Arrival
- Common Mistakes That Kill Your eSIM Activation
- eSIM vs. Physical SIM vs. Roaming: Which Wins for Students?
- What to Do After You Land in Canada
- Frequently Asked Questions
- References
Why You Must Activate Your eSIM Before You Land

The first 24 hours in a new country are operationally intense. You need maps, your university’s welcome portal, bank app verification texts, and the ability to call your landlord. Without a local number, almost none of that works smoothly. International roaming from your home carrier typically costs between $10 and $20 USD per day and delivers throttled speeds that make loading Google Maps feel like 2008.
Activating your eSIM before landing in Canada solves this problem completely. A properly activated eSIM connects to a Canadian network the moment your plane touches down, often before you clear customs. You do not need Wi-Fi. You do not need to find a store. You just walk off the plane with a working Canadian number.
The window for stress-free activation is the 24 to 72 hours before your departure. Earlier than that and you risk plan start dates misaligning with your arrival. Later than that, you may not have reliable Wi-Fi to complete the download and scan process.
Pro tip: Activate your eSIM at least 48 hours before your flight, not the night before. Some carriers require a manual review step that takes up to 24 hours, and doing this during a layover with spotty airport Wi-Fi is not a situation you want to be in.
Quick Takeaways
| Key Insight | Explanation |
|---|---|
| Activate 48 hours before departure | This gives time for any carrier verification steps and lets you test the eSIM profile before you board. |
| Device unlock is non-negotiable | A locked phone cannot install a foreign eSIM profile. Confirm your device is carrier-unlocked before purchasing any Canadian eSIM plan. |
| eSIM and physical SIM can coexist | Most modern dual-SIM phones let you keep your home SIM active for WhatsApp and 2FA while your Canadian eSIM handles calls and data. |
| Monthly plans beat prepaid for students staying over 3 months | Prepaid plans cost more per gigabyte and expire. Monthly no-contract plans from providers like PhoneBox give you flexibility without overpaying. |
| International calling minutes matter from day one | You will call home to confirm your safe arrival. Choose a plan that includes international minutes, not just Canadian talk and text. |
| eSIM QR codes expire | The QR code sent by your provider is single-use and often expires within 30 days. Do not scan it until you are ready to activate. |
| 24/7 multilingual support is a real differentiator | When activation fails at 2 AM before a 6 AM flight, a provider with round-the-clock support in your language is worth the slight premium. |
What Is an eSIM and How It Works for Canada
An eSIM is a programmable SIM chip soldered directly into your phone’s motherboard. Instead of inserting a physical plastic card, you download a carrier profile digitally, either by scanning a QR code or entering an activation code in your phone’s settings. The profile tells your phone which network to use, what your number is, and what services you are subscribed to.
For Canada specifically, this matters because the country’s major networks, Rogers, Bell, and Telus, all support eSIM technology. Providers like PhoneBox operate on these networks and offer eSIM plans purpose-built for international students, meaning you get the same nationwide coverage without signing a two-year contract or visiting a physical store.
The activation process is entirely remote. You purchase a plan online, receive a QR code by email, scan it through your phone’s cellular settings, and your Canadian number is provisioned. In practice, the entire process takes between 5 and 15 minutes when done on a stable internet connection.
“By 2025, the global eSIM market is projected to grow at a compound annual rate of over 17%, driven largely by international travelers and students who need instant, contract-free connectivity.” – Statista, Global eSIM Market Report
Is Your Device eSIM Compatible?
Not every phone supports eSIM. Before you spend a single dollar on a Canadian plan, verify your specific device model. A common mistake is assuming that because a phone is modern, it must support eSIM. Several mid-range Android devices released as recently as 2023 do not include eSIM hardware.
eSIM-Compatible Devices for Canada (Confirmed)
Apple iPhone XS and all newer models support eSIM. On the Android side, Google Pixel 3 and above, Samsung Galaxy S21 and above (note: some Samsung models sold in certain Asian markets have the eSIM chip disabled by the manufacturer), and most flagship Huawei models prior to 2020 are compatible. If you use a Xiaomi, Oppo, or Vivo device, check the specific model on the manufacturer’s website before purchasing.
How to Check If Your Phone Is Carrier-Unlocked
Go to Settings, then General (on iPhone) or About Phone (on Android), and look for a SIM or Carrier Lock status. If it says “No SIM restrictions” or “Unlocked”, you are ready. If it shows a specific carrier name as locked, contact your home carrier and request an unlock before you travel. Most carriers will unlock your device for free if your contract is completed or your account is in good standing.
Pro tip: If you are unsure whether your device is unlocked, insert a different carrier’s physical SIM and attempt to make a call. If it works, your phone is unlocked. If it prompts you for an unlock code, contact your carrier immediately, because getting unlocked can take 3 to 10 business days.
Choosing the Right eSIM Plan as an International Student
The right plan depends on two things: how long you are staying and what you actually need to do with your phone. Students staying for a full academic year (8 to 12 months) need a monthly, no-contract plan with a stable Canadian number for banking, employment, and university registration. Students on short exchange programs of 4 to 6 weeks can reasonably use a prepaid option.
What International Students Actually Use Data For
University portals and learning management systems are data-light. The real consumption comes from maps (especially the first month when everything is unfamiliar), streaming to fight homesickness, and video calls home. A plan with at least 10 GB of high-speed data per month is a practical minimum. Plans that throttle to 512 kbps after the cap feel unusable for anything other than messaging.
Why PhoneBox Outperforms Koodo, Fido, and Freedom Mobile for International Students
Koodo and Fido both require a Canadian credit history or a large deposit for contract plans, and their in-store activation process is not practical if you are landing on a Sunday at 11 PM. Freedom Mobile’s coverage outside major cities is genuinely patchy, which matters if your university is in a smaller city or suburban campus.
PhoneBox offers instant eSIM activation with no credit check, no in-store visit, no long-term contract, and customer support in 13 languages including Mandarin, Korean, Hindi, Spanish, and French. For a student arriving in Canada whose English may not yet be confident, being able to troubleshoot activation problems in your native language is a meaningful practical advantage.
Step-by-Step: How to Activate Your eSIM Before Arrival
Follow these steps in order. Skipping steps or doing them out of sequence is the primary reason activations fail.
Step 1: Confirm Device Compatibility and Unlock Status
As covered above, check that your phone supports eSIM and is carrier-unlocked. Do not proceed until both boxes are checked.
Step 2: Choose and Purchase Your Plan Online
Visit PhoneBox’s website, select an eSIM plan that fits your data needs, and complete the purchase. You will receive a confirmation email with a QR code. Do NOT scan this QR code yet.
Step 3: Back Up Your Current Phone Settings
Before making any changes to your cellular configuration, back up your phone to iCloud, Google Drive, or your computer. This protects your data if anything goes wrong during the eSIM installation.
Step 4: Keep Your Home SIM Active
On a dual-SIM device, your home SIM stays in place. You are adding the Canadian eSIM as a second line, not replacing your home SIM. On a single-SIM-slot device, your home SIM will be deactivated when the eSIM profile is installed. Plan accordingly and save all important contacts and two-factor authentication configurations before doing this.
Step 5: Install the eSIM Profile
On iPhone: go to Settings, then Cellular, then Add Cellular Plan, then scan the QR code from your email. On Android (Samsung example): go to Settings, then Connections, then SIM Card Manager, then Add Mobile Plan. Follow the on-screen prompts and scan the QR code.
Step 6: Set Data Preferences
After installation, go back to your cellular settings and set your PhoneBox eSIM as the default for Cellular Data. Keep your home SIM set for calls if needed, or switch everything to PhoneBox depending on your preference. This setting is what determines which number actually connects when you land.
Step 7: Test the eSIM While You Still Have Wi-Fi
With your home Wi-Fi or a coffee shop connection, disable Wi-Fi on your phone entirely and attempt to load a webpage using mobile data only. If it loads, your eSIM is active and connecting through the Canadian network. If it does not load, contact PhoneBox support before your flight. Do not discover this problem at the airport.

Common Mistakes That Kill Your eSIM Activation
The data consistently shows that most failed eSIM activations come from a small set of predictable errors. Knowing them in advance means you are unlikely to repeat them.
Scanning the QR code before purchasing: Some students screenshot an example QR code from a tutorial or receive a QR code before completing payment. These codes either do not work or get invalidated. Only scan the QR code from your confirmed purchase confirmation.
Attempting activation on a metered or throttled Wi-Fi connection. Hotel Wi-Fi and airport Wi-Fi often block the carrier provisioning servers required to download the eSIM profile. Use a home connection or a reliable broadband network for the initial installation.
Forgetting to disable your VPN during activation. VPNs can route your traffic through a different region, causing the carrier’s servers to reject the activation request. Turn off any VPN app before scanning the QR code and leave it off until the eSIM is fully activated and tested.
Buying a plan with a start date that does not align with your arrival. If you purchase a monthly plan that starts immediately but your flight is 10 days away, you will burn 10 days of your billing cycle before you land. Check whether the provider lets you choose an activation date or select a plan that activates on first use.
eSIM vs. Physical SIM vs. Roaming: Which Wins for Students?
| Option | Best For | Key Limitation |
|---|---|---|
| eSIM (PhoneBox) | International students arriving in Canada who want instant activation before landing, no credit check, no store visit, and multilingual support | Requires a compatible, unlocked device |
| Physical SIM (PhoneBox or in-store carrier) | Students with older devices that do not support eSIM or those who prefer a tangible card in hand | Must wait for mail delivery or find a store on arrival, which takes time and requires local navigation |
| International Roaming (Home Carrier) | Short layovers or single-day visits where purchasing a new plan is not worth the effort | Extremely expensive for stays longer than 48 hours, typically $10 to $20 per day, with throttled data speeds |
The verdict is clear. If your device supports it, eSIM wins for international students every time. The combination of pre-arrival activation, no contract, and support in your native language removes every practical barrier that makes getting a Canadian number difficult.
What to Do After You Land in Canada
If you followed the steps above, your eSIM should connect automatically when the plane lands and Canadian towers become available. The LTE or 5G icon should appear in your status bar before you even reach the gate.
Once you clear customs, send a message home to confirm your arrival. Use your PhoneBox number for any registration steps at your university’s international student office, as this is the number that will appear on your student record, banking documents, and lease agreements. Changing it later is an administrative headache you do not need in your first month.
Download the PhoneBox self-serve app immediately. It lets you monitor your data usage, top up if you need more data mid-cycle, and upgrade your plan if you realize after a few weeks that your current data allowance is not enough. Managing your plan through the app takes minutes, which matters when you are juggling orientation week, housing, and class registration simultaneously.
Pro tip: Register your PhoneBox number with your bank’s fraud alert system before you arrive. Banks flag new numbers as suspicious and may lock your account if you suddenly use an unfamiliar number for two-factor authentication. A quick call or in-app update before landing prevents a frozen account on your first week in Canada.
Frequently Asked Questions
Can I activate my PhoneBox eSIM before I am physically in Canada?
Yes, and that is exactly what you should do. The eSIM profile is downloaded and installed while you are still in your home country. The profile connects to the Canadian network automatically once your device detects a Canadian tower, which happens the moment your flight enters Canadian airspace or lands.
What happens to my existing home country SIM when I install a Canadian eSIM?
On a dual-SIM capable phone, your home SIM remains active in the physical slot and your Canadian eSIM operates as a second line. You can use both simultaneously. On a single-SIM phone that supports eSIM via software, your physical SIM stays in the slot but the eSIM becomes the active data line. Neither setup requires you to remove or discard your home SIM.
What if my eSIM activation fails during the process?
The most common causes are a locked device, a VPN running in the background, or an unstable internet connection. Try the activation again after confirming the device is unlocked, the VPN is off, and you are on a reliable Wi-Fi network. If it still fails, PhoneBox offers 24/7 customer support in 13 languages. Contact them via live chat before your flight, not after you land.
Do I need a Canadian address to buy an eSIM plan before arriving?
No. PhoneBox allows international students to purchase and activate an eSIM plan using their home country address. You do not need a Canadian address, a Canadian credit card, or a credit check. This is one of the key practical differences from in-store carriers like Koodo and Fido, which often require Canadian identification or a deposit from newcomers.
How much data do international students typically use per month in Canada?
Based on typical usage patterns, international students consume between 8 GB and 20 GB per month. The lower end applies to students who primarily use campus Wi-Fi and only use mobile data for commuting and maps. The higher end applies to students who stream regularly and use their phone as their primary internet connection in shared housing before a home internet plan is set up. A 15 GB monthly plan covers most students comfortably.
Is there a contract I have to sign for a PhoneBox eSIM plan?
No. PhoneBox operates on a no-contract model, which means you pay month to month and can cancel, pause, or change your plan at any time through the self-serve app. This is important for international students whose plans often change: exchange semesters end early, co-op terms get extended, and travel breaks happen. Being locked into a two-year contract like those offered by major Canadian carriers would be financially risky for students without certainty about their stay length.
Can I port my Canadian eSIM number to a different carrier when I leave Canada?
Porting works in reverse: when you are ready to leave Canada, you can either cancel your plan or transfer the number to another carrier if you intend to keep using it. Canadian number portability rules apply, meaning the number belongs to you, not the carrier. However, most departing international students simply cancel their plan at the end of their final billing cycle rather than porting the number.
Have you activated an eSIM before arriving in a new country? Share what worked, what failed, and what you wish you had known in the comments below.
References
- Statista: Global eSIM market size, adoption trends, and forecast data for mobile technology researchers
- Forbes: Coverage of mobile technology innovation, eSIM adoption, and international telecommunications trends
- Government of Canada: Official information on telecommunications regulations, consumer rights, and mobile number portability rules
- GSMA: Global mobile industry standards body, including official eSIM technical specifications and compatible device registries
- Canadian Radio-television and Telecommunications Commission: Regulatory body governing Canadian mobile carrier rules, consumer protections, and wireless code requirements